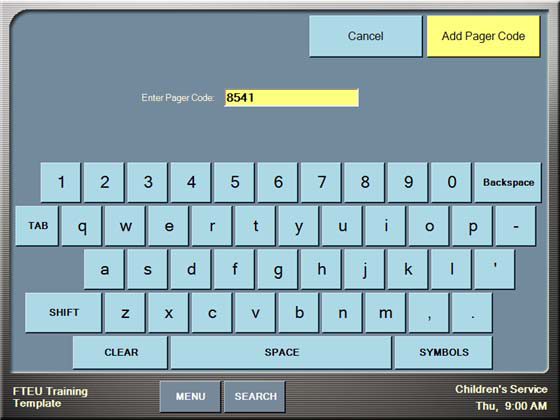
Check‐in includes the ability to temporarily assign a pager number for a participant. This can be the actual number to dial to ring the pager, the pager’s ID number, or a barcode scan from the pager.
The number you enter for the pager prints on the name tag of the participant associated with the pager. A parent keeps the pager with them and can be paged if needed by a care giver who simply reads the number on the name tag.
Tip! If you do not have a pager system in place, you can enter a parent’s cell phone number instead. This number prints on the name tag for easy location by a volunteer if needed.
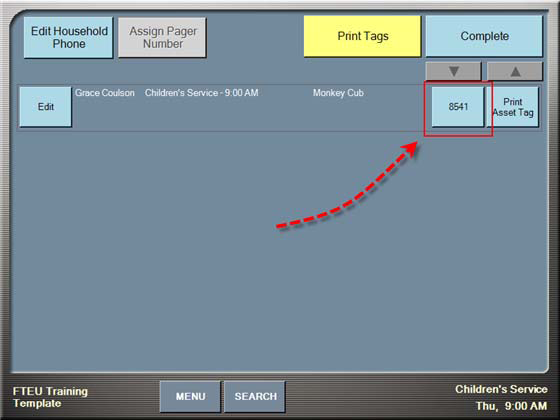
You can assign a pager number to one or more participants from the Review Checkins screen. This screen is available after you have selected a room/location for the last selected participant. An example of Review Checkins is shown below.
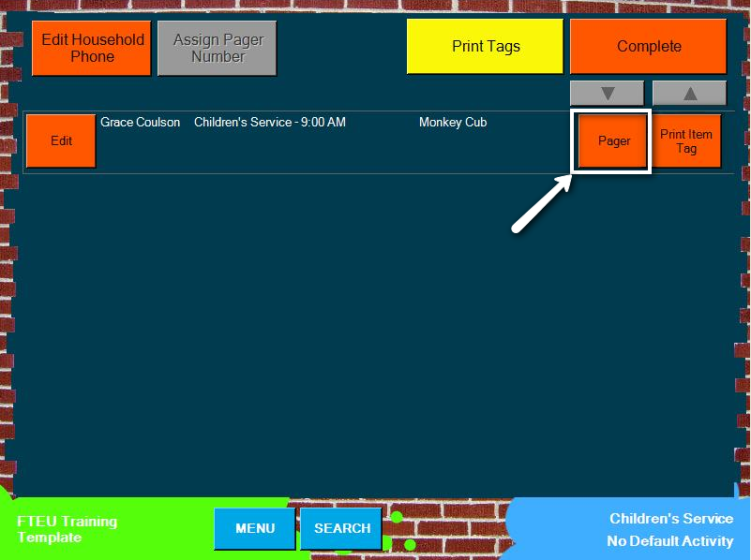
As you can see, the Assign Pager Number button in the top left of the screen is disabled. It remains disabled until you touch the Pager button beside at least one participant.
Note: Pager number assignments are temporary. The pager assignment only lasts throughout the duration of the selected activity schedule. If a participant needs a pager association for more than one activity schedule, he or she must check into all activity schedules at the same time. If not, a pager number must be assigned again for other schedules. If the pager number was not assigned for a schedule, the number will not print on the name tag.
A pager number can be assigned to one or many participants from the same household during check‐in. Simply touch the Pager button beside each participant to associate with the pager number.
To assign a pager number